Sunday, 25 January 2015

Graphic45 Christmas cards

I am disciplining myself to use my stash as much as possible rather than keep buying stuff, although I admit it 's hard to resist sometimes.  I had one sheet of this paper and made about eight cards with it, along with stuff from my stash.

The flowers were made using Heartfelt Creations poinsettia stamps and dies, stamped in white ep and coloured with distress inks.  The labels are die cut with Spellbinders and stamped with Kaisercraft Mistletoe stamp set and embossed to match. Matching ribbon and  Card Candy from Craftwork Cards finishes them nicely.


I was pleased to get so many cards out of the one sheet of 12 x 12.  
Thanks for looking, and any comments gratefully received.
Anne :)

Monday, 20 October 2014

Paper pieced Christmas

I find paper cutting relaxing (!) and made some paper pieced Christmas cards using this robin stamp. The papers were a 6 x 6 Memory Box pad 'Yuletide' which I stamped with Archival and cut out, then mixed them up and put the Robin back together.  This stamp is perfect for cutting as the lines are clear and easy to cut, a die cut snowflake, vellum & peel off greeting and a few card candy finishes it off.


Clean and simple and easy to do, thanks for looking.

Anne :)


Monday, 6 October 2014

Snowy animals Christmas

These are three cards made with Chris Dark on her Christmas Club at The Craft Barn.  They are done using the same techniques but different stamps.  Kraft card edged with white brilliance ink and gessoed in the central area.  Stamp in archival and paint with distress inks. Frantage sprinkled on top lightly and heated.  Tiny stars and snowflake punched shapes a bit of lace and few crystal gems finish them off.


I love the sheep best - hope you like them, and thanks for looking.

Anne :)


Tuesday, 30 September 2014

Desk Card Set

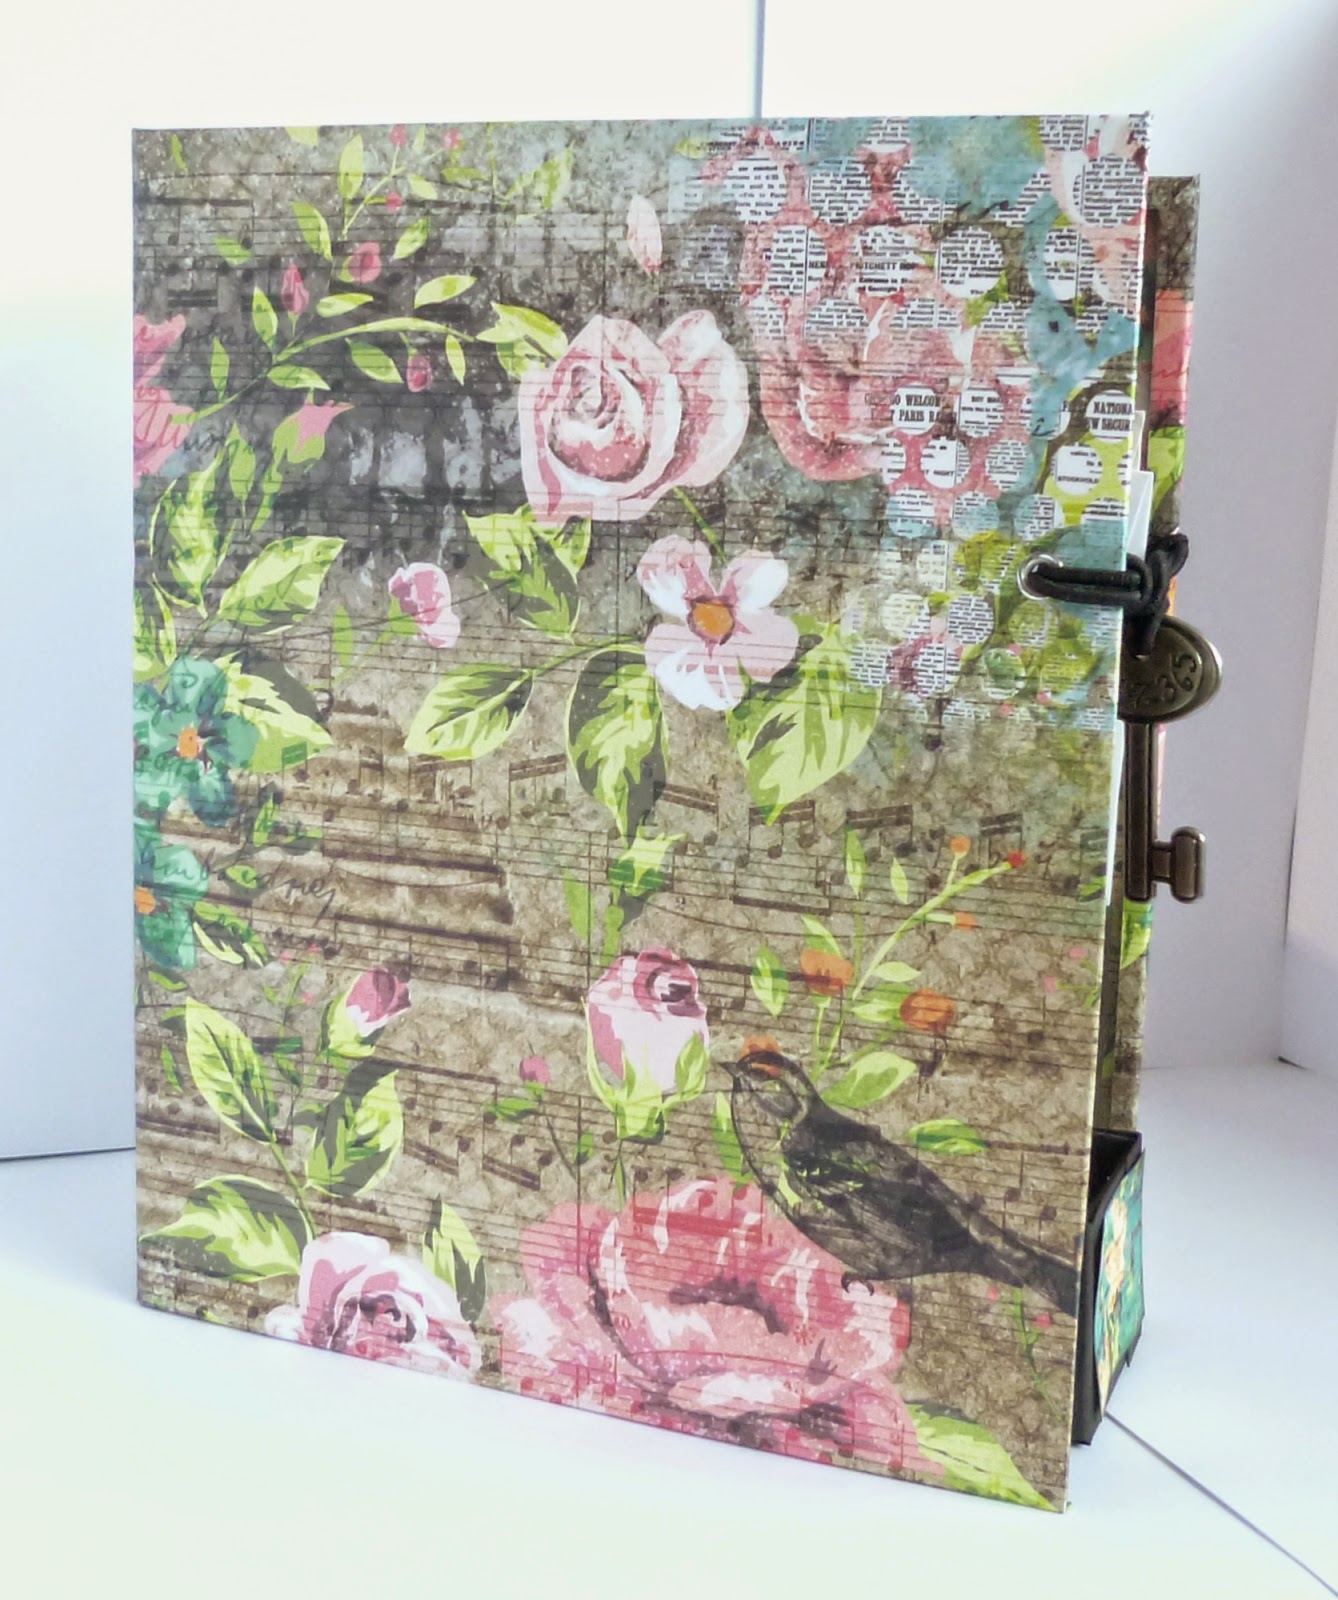
I made this on a Kathy Byrne class at The Craft Barn a while ago and did the cards at home to match.  Its made from chipboard and has pockets made from card to contain the greetings cards (they needed to be one layer cards so they would all fit in).  It's like an album with a central desk tidy instead of pages.

open
 cover
 spine
 cards using matching papers & stash


I personalised it as it was a gift for a friend.  Hope you like it and thanks for looking.

Anne :)


Tuesday, 23 September 2014

Couture Collection Desk Set

It's been a while to say the least but here at last is a blog post!  I covered these mdf pieces with Graphic 45 Couture Collection papers so I can look at them every day!  It's hard to give away some projects especially when they have taken so long to make, but these were rather quick and so I am happy on all sides.

I used black gesso as the base on all the pieces then simply cut the papers as needed, distressing inking the edges with black soot di.  Matt medium was used as the glue and glaze.  The first piece has my favourite papers as I only set out to do that one piece - then I wanted to cover everything  I had!  The biggest piece was last and I decided to use the papers I had left rather than buy more (interesting ones).  


Too many pics I know but I hope you like them and thanks for looking.

Anne


Thursday, 18 July 2013

Gilded bird and cage


This is the last one (so far) of the printed card blanks and on this one I have used a Dreamweaver bird cage stencil and used matt white paste, when dry I have applied flitter glue through the stencil and then added gilding flakes.  I've chomped the top corners and layered it onto gild miri. The bird is by Stamp in the Hand done in Indigo Blu Morris Dance gilding flakes.  The happy birthday is embossed in brown onto a piece of velum.  I have used gold card candi as faux brads.

Thanks for looking and if you left a comment, thanks very much.

Anne :)

Wednesday, 17 July 2013

Magenta Peacock


I love this Magenta stamp and here it's in black embossing and coloured with my old favourite, Pearl Ex. So it is very shimmery, but hard to see in the photo (excuses, excuses!).  It's mounted onto silver miri, and then onto a card blank - which is not so blank as all the background is already on it!  I was given some of these ages ago and have not known what to do with them,  until now.  The Happy Birthday is an old favourite stamp by Superstamp - it's embosssed in blue ep and mounted onto miri.

Hope you like it and thanks for looking and if you've left a comment, special thanks very much.

Anne :)

Tuesday, 16 July 2013

Woodware Victorian Spray


This is a clear stamp by Woodware which I have done in several colours but just showing one version here today,  This is stamped in white ep, coloured with Copics and cut out.  The background part of the stamp is coloured with distress inks and has added white pen and glitter.  This is mounted onto a 6 x 6 card which has been pasted with Sparkle Medium through the Honeysuckle stencil (both by Imagination Crafts).  The sentiment is a Spellbinders label with a Superstamp (ancient) Happy Birthday coloured with distress ink and silver embossed.  I have glued some stamens just under the flower to give more dimension.    

Thanks for coming by and having a look and if you've left a comment, special thanks to you .
Anne :)


Monday, 15 July 2013

Inkadinkado Vintage Lady


Hello bloggers, this card is another one of the printed card blanks made into a proper card!  I have used a really old Inkadinkado rubber stamp and used 4 metallic colours of embossing powder on it.  Simple but effective (I hope).  My old favourite Happy Birthday by Superstamp and both mounted onto gold miri.

Thanks for coming by and if you've left a comment, special thank you.

Anne :)

Sunday, 14 July 2013

Using my stash again


Hello Bloggers, this is another of the printed card blanks this time using the metallic markers on shiny card background, it actually is quite shimmery in real life.  The tree stamp is by docrafts and stamped in black Archival ink and the piece mounted onto gold miri.  The sentiment is from a Hero Arts set and here is done in  black Archival and has been rubbed with gold Brilliance ink around the edges.  I had these card blanks for so long and didn't feel inspired to use them, but once I decided to dig into my stash and use some stuff from the deepest parts I quite enjoyed it.  Now I can feel self righteous for actually using some of the old stuff!

Thanks for coming by and if you have left a comment, a special thanks to you.

Anne :)

Saturday, 13 July 2013

Dreamweaver Owl


Hello bloggers this is a simple little card done with Dreamweaver gold paste. When dry I added Flitter Glue through the (clean) stencil and then used red/gold easy metal sheet to the owl and acorns.  This is mounted onto gold miri card and onto an embossed card blank.  I have used Antique Linen Distress Ink over the embossing.  The good thing about gold leafing is that it is so striking that  you don't need much else on the card.  This is another of the card blanks from my stash that I promised myself I would use.  I have so many unfinished card projects buried in the deepest stash, I am going to challenge myself to do them or throw them!

Thanks for coming by and taking a look, and special thanks for commenting :)

Anne :)

Thursday, 11 July 2013

Metallic markers background.


Hello bloggers, this card was a challenge to myself to use some printed card blanks which I had been given ages ago and put away in the deepest part of my stash.  I used a piece of card from my stash that was from a  long ago playing session using metallic markers on shiny card. Onto this piece I have stamped an old Hero Arts flourish flower stamp in black and then mounted onto gold miri spellbinders diecut.  The sentiment is a clear stamp set which I have lost the details for, sorry about that.

Thanks for coming by and special thanks if you've left a comment.
Anne :)

Klimt tribute canvas


This is the canvas I started at a workshop with Lina Macdermot and finished at home.  We were using Gustav Klimt as our inspiration, a lot of his work has lots of gilding and patterning.  As usual, now I've finished it I can see where I would have done it differently were I to do it again.  I think the lilac Fresco Finish background is a bit flat looking.  I am reasonably happy with it apart from that!


After painting the background, the figure is drawn and painted.  I used Imagination Crafts stencil Leafy Swirl and grunge paste for the dress When dry I went over it with Quickie Glue pen and gilding flakes when glue was dry.  The turban is also stenciled with grunge paste and gilding.  Her necklace is done with Quickie Glue pen  and gold flakes and the earrings are punched out of gold miri with a bling on each one. The flowers she is holding are just ready made ones from my stash and are just stuck on with some Pinflair Gel glue.


The red flowers are a Crafters Workshop stencil done with grunge paste and then red metallic acrylic paint.
The swirls are a Tim Holz die cut out of gold patterned lilac paper and they have added bling rhinestones.  Lastly the edges were rubbed with flitter glue and gold flakes.


Thanks for looking and thanks so much if you have left a comment.

Anne :)

Wednesday, 10 July 2013

Sparkle Medium cards


This batch of cards were done using Imagination Crafts Sparkle Medium, in Aqua Sea. The birdcage stencil is another Dreamweaver stencil and is mounted onto a pearlescent blue card.  The background is a plastic mask by Imagination Crafts and I have used Dreamweaver matt white paste coloured with various Fresco Finish paints by Paper Artsy (my absolute favourite paints).  This was done by mixing a speck of paint with blobs  (technical term) of the paste and putting 3 or 4 colours onto the palette knife.  In this one the colours are not all that distinct as this was the end of a series of pasting and I was using up every last bit so they are rather blended together.   The sentiment is an old favorite of mine by Printworks and is silver embosssed onto a Spellbinders Stately Circle die.  I rubbed over the circle with a Brilliance Ink pad to match. The bird is an Inkadinkado stamp embossed in silver and the ribbon is rescued from gift packaging.

You can see the dimension a bit better in this one.


Disappointing photo of this one believe me it looks ok in real life!  Another Dreamweaver stencil and the Sparkle Medium as above.  Mounted onto miri and the background is a Spellbinders Embossabilities, Garden Lattice folder.  I used Tumbled Glass Distress Ink to colour the background card first and after embossing rubbed Treasure Silver wax gilt on top.  The sentiment is a Sweet Poppy stencil done with the same Sparkle Medium.


This is yet another Dreamweaver stencil done with the Sparkle Medium.  The background is a Couture Creations embossing folder which I have carefully enlarged to make it into the A5 size.  I have rubbed it over with a Brilliance Ink pad and it has a lovely sheen.  The sentiment is same as card 1 above.  Nice satin ribbon to finish off.

Thanks so much for visiting my blog and any comments very appreciated.

Anne :)

Tuesday, 9 July 2013

Grunge Paste and Dreamweaver


Another batch of pasted cards a bit different from the previous posts.  I always end up using virtually all my stencils when doing pasting as it's so messy and takes over my space so I may as well do as many as possible.

The first one is  done using Paper Artsy Grunge Paste using 4 different colours of Fresco Finish to colour the paste.  I put blobs of the paste onto a large tile and added specks of paint and mixed it up (keeping the blobs separate).  The stencil is a Crafters Workshop plastic mask. The grunge paste gives a nice texture and the paint gives it a chalky finish.  This piece is mounted onto a soft gold metallic card and then onto the white card base.  The pale gold ribbon matches the gold embossed sentiment (although it looks a bit yellow in this photo).  The sentiment is by Kaisercraft.


The background (Imagination Crafts) and birdcage (Dreamweaver)  are both done in glossy white embossing paste coloured with  fresco finish paint.  The bird is an Inkadinkado stamp done in cosmic shimmer ep and the sentiment is Hero Arts done banner style.  The border is a Martha Stewart punch and although you can't see it here, I have edged the card underneath with Tumbled Glass Distress ink which looks pretty when the card is closed.


This is the same Dreamweaver stencil I previously did in Crackle on an earlier post, this time done in white matt embossing paste.  I have then stencilled it with Brilliance inks when dry.  It is really quite matt even with the Brilliance.  It is mounted onto a piece of purple pearlescent card which has gone through the Garden Lattice embossing folder (I love these big folders).  The middle layer is a piece of 12 x 12 paper cut down to size.   The sentiment is one I have used extensively and is by Art Stamps.  The Spellbinders Stately Circles die is one of my favourites too. Unfortunately I have lost the packaging for the middle die so can't tell you what it is, except that it is part of a set of circular nesting dies in black metal.

I hope you are not fed up with all these embossing paste cards, as I still have a few more to blog!  I always make a load at once and never just make one!

Anyway, thanks so much for coming by and any comments very appreciated.

Anne :)